
Skip the intro · jump to the list ↓
Wedding season always brings the same little panic. Someone orders so pretty invitations, then has no clue how to put them together without them looking messy.
It happens more than you’d think! People spend months picking the perfect paper and font, then rush the actual assembly the night before mailing everything out.
That’s really where the magic happens though. A well built suite feels expensive even when every single piece came from a craft store.
I scrolled through hundreds of pins for this list and only kept the ideas that a regular person could actually pull off at a kitchen table. No fancy equipment required, lol!
Below you’ll find twenty ways to layer, tie, seal and stack your invitations so they look like they came from a pricey stationer. Some are quick fixes, others take a slow evening with good music.
Pick whichever fits your patience level and your budget, then mix and match until the whole thing reads as you.
INVITATION SUITE ASSEMBLY IDEAS
Layered Envelope Liner Assembly
Envelope liners are the detail nobody notices until it’s missing. A patterned liner peeking out the top makes even a plain envelope look intentional.
Glue the liner along the top edge only, not all four sides. That way the envelope still seals and opens smoothly, which sounds obvious but trips people up constantly.
Wax Seal Placement Guide
Wax seals look intimidating but the placement is really the whole trick. Center it slightly above the fold line so it doesn’t crack when the envelope gets handled.
Press for a full ten seconds, no rushing. Rushed seals crack in the mail and that’s a heartbreak nobody needs, haha!
Ribbon Wrapped Invitation Stack
How pretty is a stack of invitations wrapped in ribbon? It turns a flat pile of paper into something that reads as a gift before anyone even opens it.
Silk ribbon holds a knot better than satin, which slides around constantly. Tie it once, snip the ends at an angle and call it done.
Vellum Jacket Overlay Idea
Vellum overlays add this soft, frosted look over the main card. They’re basically invisible until light hits them, then the entire thing glows a little.
Tie the vellum on with twine or a thin ribbon instead of glue. Glue on vellum tends to wrinkle and that ruins the entire effect.
Belly Band Assembly Tips
Belly bands are the lazy person’s favorite trick. I mean that as a compliment. One strip of cardstock wrapped around the middle holds everything in place with zero glue.
Measure the band a touch shorter than you think you need. A snug band looks tailored. A loose one just looks like it slipped.
Pocketfold Suite Organization
Pocketfolds solve the biggest assembly headache, which is keeping loose cards from sliding around during mailing. Everything tucks into one folder and stays put.
Order matters here more than people expect. The main invitation goes on top, then details, then the RSVP tucked into its own little slot.
Calligraphy Envelope Addressing Setup
Calligraphy addressing looks fancy but the setup is really just about workspace. A slanted board, good light and a steady surface make more difference than the pen itself.
Practice the guest names on scrap paper first, always.
Stamp And Postage Styling
Stamps are such an easy way to sneak in personality. Vintage florals, little birds, whatever matches the invitation colors instantly dresses up all of the envelope.
Skip the plain forever stamp if you can. The post office actually sells prettier options and it costs the exact same, which nobody tells you!
Twine Tied Invitation Bundle
A twine tied bundle has this rustic, handmade charm that fits a barn wedding or a backyard one equally well.
Wrap the twine twice around and finish with a simple knot instead of a bow. It photographs better and it won’t come undone in transit.
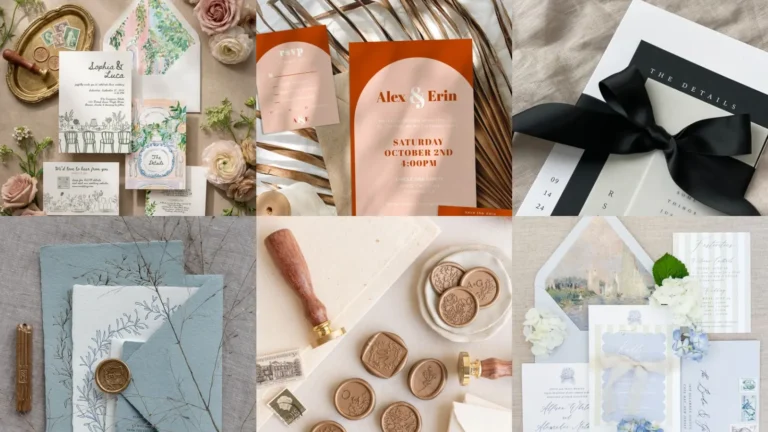
Wax Stamp Tool Flatlay
Are you guys seeing these wax stamp flatlays right now? Brass handles, little wax beads in jewel tones, it’s honestly satisfying just to look at the tools laid out.
A tiny spoon for melting wax makes this so much less messy. Skip that step and you’ll be scraping wax off the table for a week, haha!
RSVP Card Insertion Order
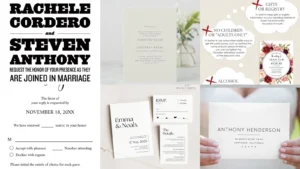
RSVP cards need a clear order or guests get confused about which envelope goes where.
Slide the reply envelope under the RSVP card, both facing the same direction. That tiny detail keeps everything reading correctly once it’s opened.
Assembly Line Workstation Setup
An assembly line setup turns a hundred invitations from a nightmare into an actual pleasant afternoon. Line up each element in the order it gets added.
Liners first, then the main card, then inserts, then the seal. Working in stations beats trying to build each suite start to finish on its own.
Custom Wax Seal Colors
Custom wax colors are where a suite starts feeling truly one of a kind. Sage, terracotta, dusty blue, whatever matches the color scheme down to the shade.
Mixing two wax colors together creates a marbled look that no premade seal can copy. That’s my favorite trick on this entire list.
Layered Cardstock Suite Design
Layered cardstock designs stack a few colors and weights so the invitation has actual depth when you pick it up.
Three layers is the sweet spot. Any more than that and the envelope starts fighting you at sealing time.
Silk Ribbon Bow Detail
A silk ribbon bow finishes a suite the way a bow finishes a gift, softly and on purpose. Not the stiff craft store kind either.
Cut the ribbon on the bias so it doesn’t fray at the ends. Small detail, big difference once it’s tied.
Envelope Liner Pattern Choices
Patterned liners come in so many directions it’s genuinely hard to choose. Florals, stripes, foil dots, even a map print for the travel themed crowd.
Pick one that echoes a color from the invitation itself rather than matching everything exactly. It reads more intentional that way.
Suite Assembly Flat Lay
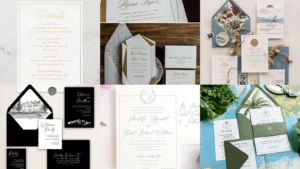
A full flat lay of a finished suite is honestly just satisfying to look at. Every layer visible, nothing hidden, the full arrangement laid out like a little still life.
This is the photo people save for their own moodboard later. Worth setting one up even if it’s only for a picture.
Wax Seal Color Palette
A wax seal color palette pulls the entire suite together visually before a single envelope gets sealed.
Pick three shades max, one dominant and two accents. Any more than that starts looking scattered instead of put together.
Finished Invitation Suite Display
Not going to lie, a finished suite displayed on a marble tray or a stack of books looks similar to it belongs in a magazine.
Prop it at a slight angle instead of laying it flat. It catches the light better and shows off every layer at once.
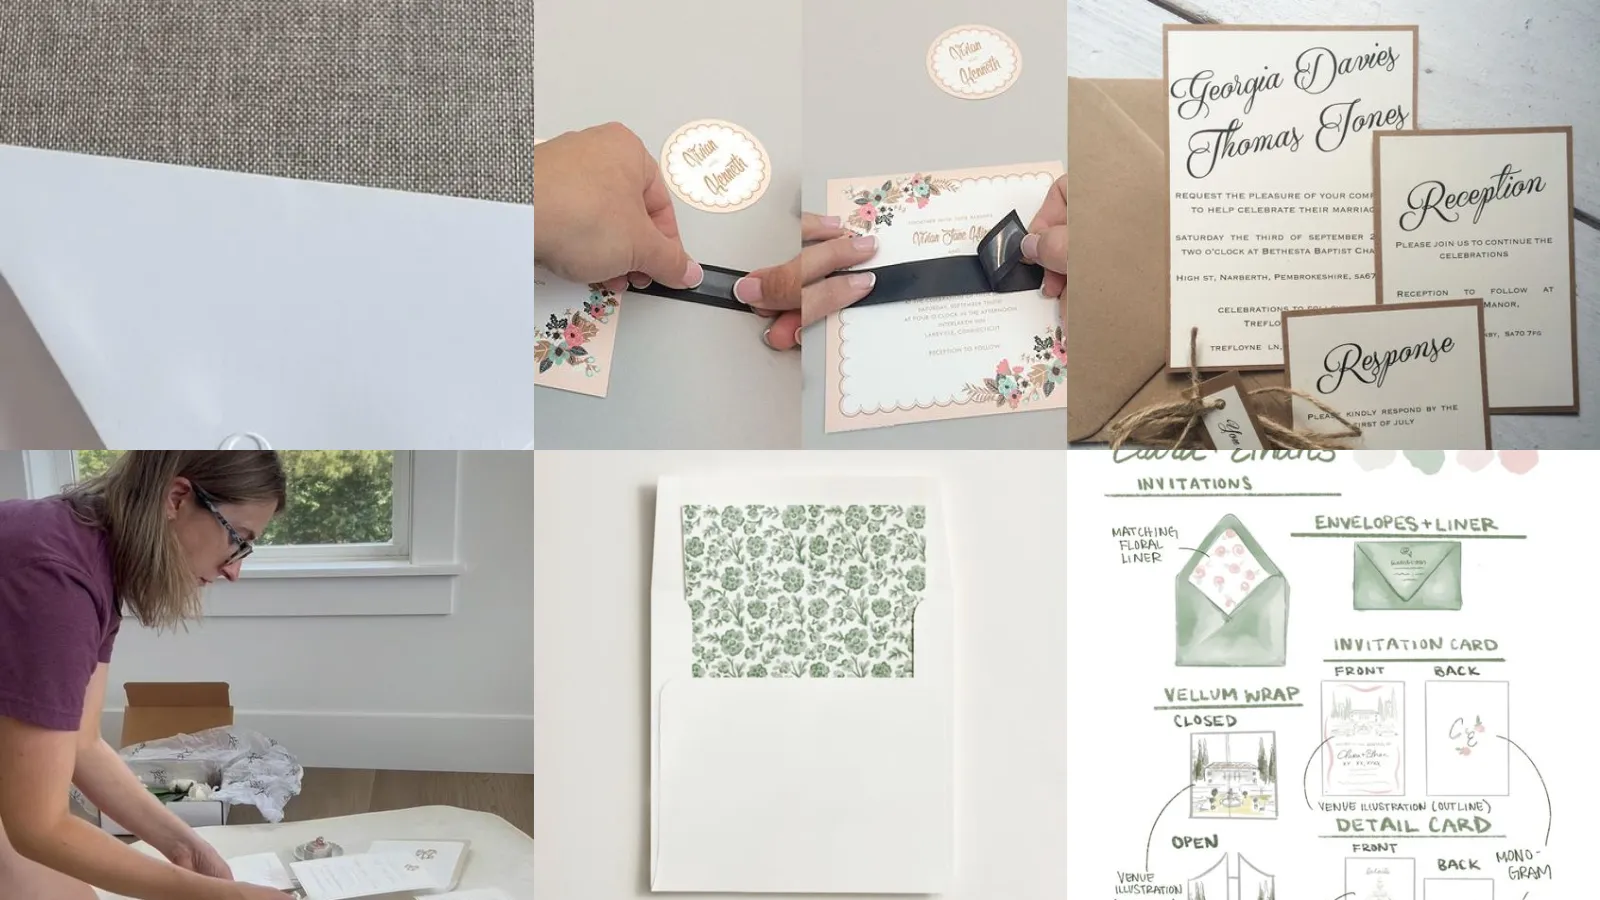
Step By Step Folding Guide
Last but definitely not least, a step by step folding guide saves so much trial and error with tricky pocketfolds or gatefolds.
Fold against a bone folder, not just your fingers. Crisp folds are the difference between homemade looking and boutique looking. That’s all of the goal here!
Just a little note - some of the links on here may be affiliate links, which means I might earn a small commission if you decide to shop through them (at no extra cost to you!). I only post content which I'm truly enthusiastic about and would suggest to others.
And as you know, I seriously love seeing your takes on the looks and ideas on here - that means the world to me! If you recreate something, please share it here in the comments or feel free to send me a pic. I'm always excited to meet y'all! ✨🤍
Xoxo Alessandra
✨ Wait! Your next favorite is right here
These are the posts readers open next. See why: