
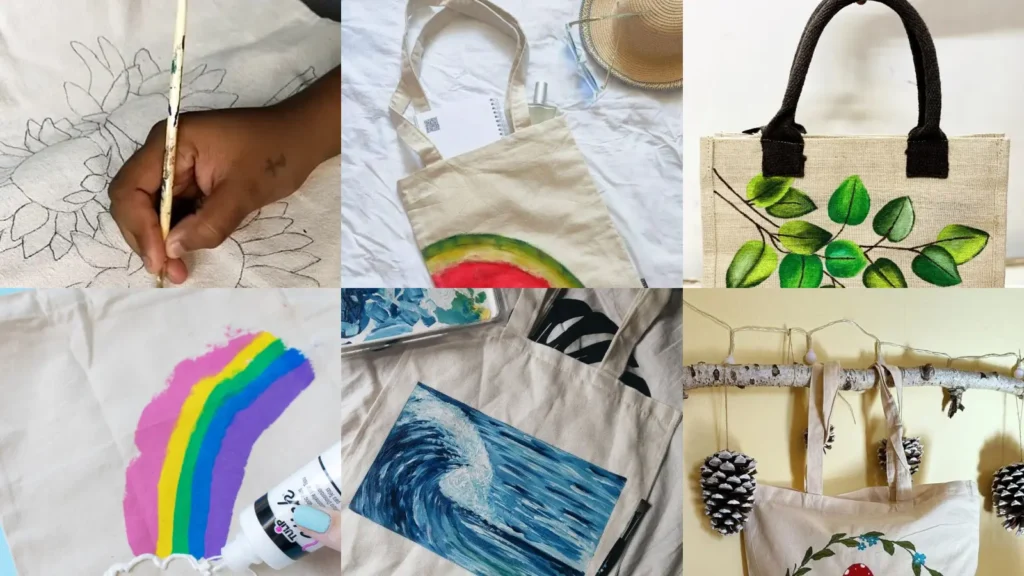

Here’s a tip nobody tells you before your first canvas tote project. Wet your brush and blot it almost dry before you touch the fabric.
Canvas soaks up paint fast, so a soggy brush turns a crisp little flower into a blurry blob. Learn that one the hard way and you’ll never forget it, lol!
This list came together after scrolling through way too many painted tote pins. Some were so pretty but needed an art degree.
Others were doable in an afternoon with things already sitting in a craft drawer.
I kept only the ones that looked achievable for regular hands. No fancy tools required, no fifteen-step process, just paint, a plain bag and a little patience!
Whether you want something simple for a beginner or a design that looks like it came from a boutique shelf, there’s a match here. Some are quick weekend projects.
Others take a bit more time but pay off big. Honestly that’s the fun part of trying out different diy tote bag painting ideas.
Grab a blank canvas bag from the craft aisle or an old tote you don’t use anymore. Either one works great as a canvas, pun fully intended!
Under each idea you’ll find a few real details plus a link to the full tutorial. Ready to make something you’ll actually want to carry around? Let’s get into it!
CANVAS BAG PAINTING IDEAS
Sunflower Field Canvas Tote

We’re starting off strong with a sunflower field tote. Rows of little sunflowers stretch across the bottom while the sky fades into soft blue up top.
Fabric paint pens make the petals easy even for shaky hands. It looked like a real bouquet, honestly better than mine!
Read also: 18+ Stunning Bible Cover Ideas Your Faith Deserves
- Petals in under an hour
- Fabric pens keep lines steady
- Dries soft not stiff
Watercolor Splash Canvas Bag

How cute is this watercolor splash bag? Loose blobs of color bleed into each other for a look that’s basically impossible to mess up.
I water down acrylic paint until it moves like actual watercolor. The wetter my mix, the softer the edges turn out. I still overdo the water half the time!
- No steady hand needed
- Watered down acrylics
- Looks different every single time
Painted Botanical Leaves Bag

Painted botanical leaves give a tote that quiet, plant-lady energy. Eucalyptus stems and fern shapes work best since they’re basically just simple strokes.
A thin round brush handles the stems while a flat brush fills the leaves. I always mess up the first stem and just call it a design choice.
This one looks fancy but takes barely any skill, haha!
- Plant mom approved
- Two brushes total
- Great for scrap fabric paint
Rainbow Stripes Canvas Tote

Rainbow stripes turn a plain tote into something a kid would fight you over. Painter’s tape keeps every line razor sharp.
I peel the tape while the paint is still slightly tacky. Wait too long, like I did once.
It rips the color right off! Crisp edges or a small disaster, there is no in between.
- Bold and impossible to lose in a car
- Painter’s tape does the work
- Bright colors pop on natural canvas
Ocean Wave Canvas Bag

This ocean wave bag has serious beach house vibes. Curved layers of blue and white sweep across the front like actual tide lines.
A dry brush technique gives the foam that scratchy, realistic texture. My first attempt looked more like a car wash than a beach!
It’s the kind of tote that makes you want a vacation immediately.
Read also: 20+ Stunning Wall Painting Ideas That Transform Any Room
- Beach bag energy year round
- Dry brush for the foam texture
- Two blues plus white is plenty
Mushroom Garden Painted Tote
Mushroom gardens are having a whole moment right now, am I right? Little red caps with white dots scattered across a tote just feel cheerful.
Sponge dabbing the caps gives them a soft, spotted texture without any fine detail work. She swears strangers ask about it every single week.
- Cottagecore without trying too hard
- Sponge dabbing for texture
- White dots go on last
Abstract Sun Face Bag

This abstract sun face bag brings serious retro charm. Wavy rays and a simple smiling face make it feel a little seventies in the best way.
I keep the face loose and imperfect every time I paint one. A wobbly smile actually adds to the charm here.
My crooked ones get more compliments than my careful ones!
- Retro without the thrift store price tag
- One bold color plus black outline
- Wobbly lines are the whole point
Fabric Paint Polka Dots

Fabric paint polka dots might be the easiest this this bag painting ideas out there. A pencil eraser dipped in paint makes a perfect little circle every time.
I space the dots randomly instead of in neat rows. My rows always drift crooked anyway, so random just looks intentional. No shame in that, lol!
- Pencil eraser is the secret tool
- Random spacing looks best
- One color or five, your call
Stenciled Star Pattern Bag
Stenciled stars keep everything symmetrical without any freehand stress. A dollar store stencil sheet handles the whole design.
I dab the paint straight up and down instead of side to side. My one attempt at side strokes bled under the edges immediately. Talk about talent, I barely had to try!
- Stencil sheet does the heavy lifting
- Straight up and down dabbing
- Gold paint looks especially festive
Handprint Flower Tote Craft
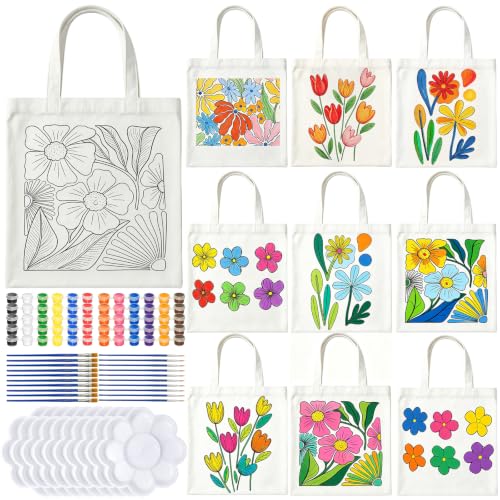
Handprint flowers are such a sweet little craft for a rainy afternoon. Each handprint becomes petals once you add a stem and a couple leaves.
This one works great with a group since everyone’s hand makes a slightly different flower.
- Every hand makes a different flower
- Great for a group project
- Washable paint keeps cleanup easy
Cherry Bunch Painted Tote
This cherry bunch tote is one of my favorite this bag painting ideas on the whole list. Two round cherries and a curved stem is basically the entire design.
A tiny white highlight dot makes each cherry look glossy and fresh off the tree. Who doesn’t love a bag that looks good enough to eat?
- Two dots and a stem, done
- White highlight adds shine
- Great for a first fruit design
Smiley Face Fruit Tote

Who doesn’t love a fruit with a face, am I right? This smiley face fruit tote turns an orange or a strawberry into the happiest little character.
Simple dot eyes and a curved line smile do all the work. It’s impossible to look at this bag and not smile back!
- Fruit with actual personality
- Dot eyes plus one curved smile
- Works on any fruit shape
Painted Butterfly Tote Bag
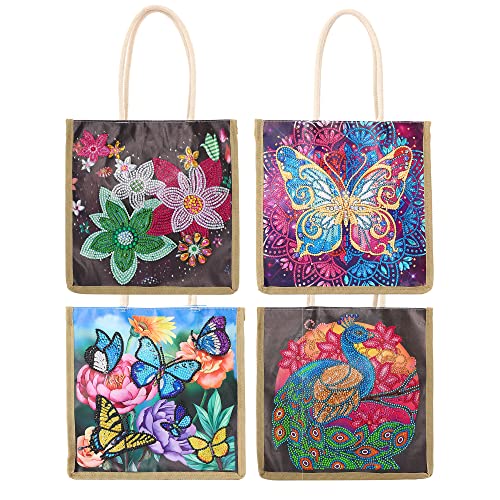
Painted butterflies bring instant movement to a plain tote. Symmetrical wings sound tricky, but folding the canvas in half and pressing creates a mirror image for you.
Add a few dots and swirls once the base color dries. This is the trick I show anyone nervous about symmetry. It works every single time, haha!
- The fold trick fakes perfect symmetry
- Fold canvas to mirror the wings
- Dots go on after it dries
Muted Sage Wildflower Tote
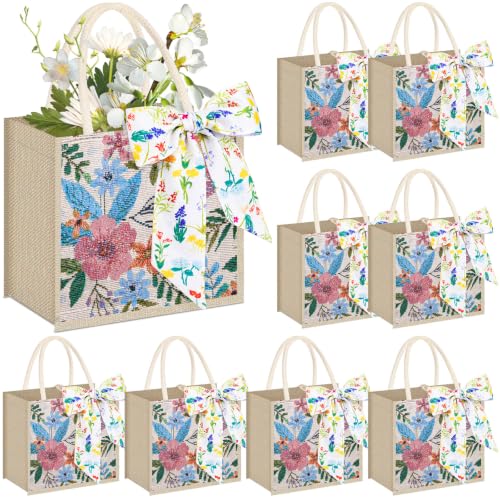
This muted sage wildflower tote leans into that quiet, calming palette everyone’s obsessed with right now. It’s one of those this bag painting ideas aesthetic boards are full of lately.
If you were hunting for this bag painting ideas aesthetic, this one is a keeper! If you were hunting for tote bag painting ideas aesthetic, this one is a keeper!
Sage, cream and a touch of dusty rose keep it soft instead of loud. I let her think that, honestly!
- The palette everyone keeps repinning
- Sage, cream and dusty rose only
- Loose brush strokes over precise ones
Dried Flower Line Art Tote
Dried flower line art has such a minimal, gallery-wall kind of look. Thin black outlines trace stems and petals without any fill color at all.
A fine liner pen designed for fabric keeps the lines consistent from start to finish. It’s the tote I’d actually bring to a coffee shop.
Nobody would guess it took under an hour!
- Gallery wall meets grocery run
- Fine liner pen for clean lines
- No fill color needed
Simple Heart Outline Tote
A single heart outline might be the most forgiving design on this entire list. One continuous line, no filling required, no shading involved.
If you were hunting for this bag painting ideas easy, this one is a keeper! If you were hunting for tote bag painting ideas easy, this one is a keeper!
My hand still shakes halfway through every single time, so my hearts always end up a little lopsided. This is one of those this bag painting ideas easy enough for a total beginner to nail on the first try. Same!
Read also: 17+ Stunning Cup Painting Ideas That Sell Fast
- One line, zero mistakes possible
- Perfect for a first attempt
Single Daisy Beginner Tote
A single daisy keeps things clean and simple without looking bare. Five white petals and a yellow center is the entire shopping list.
Beginners tend to grab it first. It never disappoints, honestly, it might be the most requested design in my whole house!
- The first design most beginners try
- Small enough to finish fast
Basic Checkerboard Pattern Tote

A basic checkerboard pattern looks bold but only needs a ruler and some patience. Straight lines in two directions create the whole grid.
I always mismeasure the first row and just adjust the rest around it. Painter’s tape squares off each box so the paint stays put.
Nobody notices my math problem but me, lol!
- Ruler required, talent optional
- Painter’s tape squares the grid
- Two colors, endless combinations
Quick Ombre Dip Tote

Last but definitely not least, this quick ombre dip tote is basically dip dye without the mess. Diluted paint fades from dark to light in three easy layers.
Blend each layer while the paint below is still wet so the transition stays smooth. Not that I’m picky about my ombre lines or anything, haha!
- Dip dye without the actual dye
- Three diluted layers
- Blend while still wet
Just a little note - some of the links on here may be affiliate links, which means I might earn a small commission if you decide to shop through them (at no extra cost to you!). I only post content which I'm truly enthusiastic about and would suggest to others.
And as you know, I seriously love seeing your takes on the looks and ideas on here - that means the world to me! If you recreate something, please share it here in the comments or feel free to send me a pic. I'm always excited to meet y'all! ✨🤍
Xoxo Alessandra